

A lesson plan is a written outline that maps out what students will learn in a single class, how they will learn it, and how you will know they learned it. To write one, you set a clear objective, plan the activities that lead to it, gather your materials, and build in a way to check understanding.
This guide walks through each step in order, gives you a template to copy, and includes a full sample plan you can adapt to any subject.
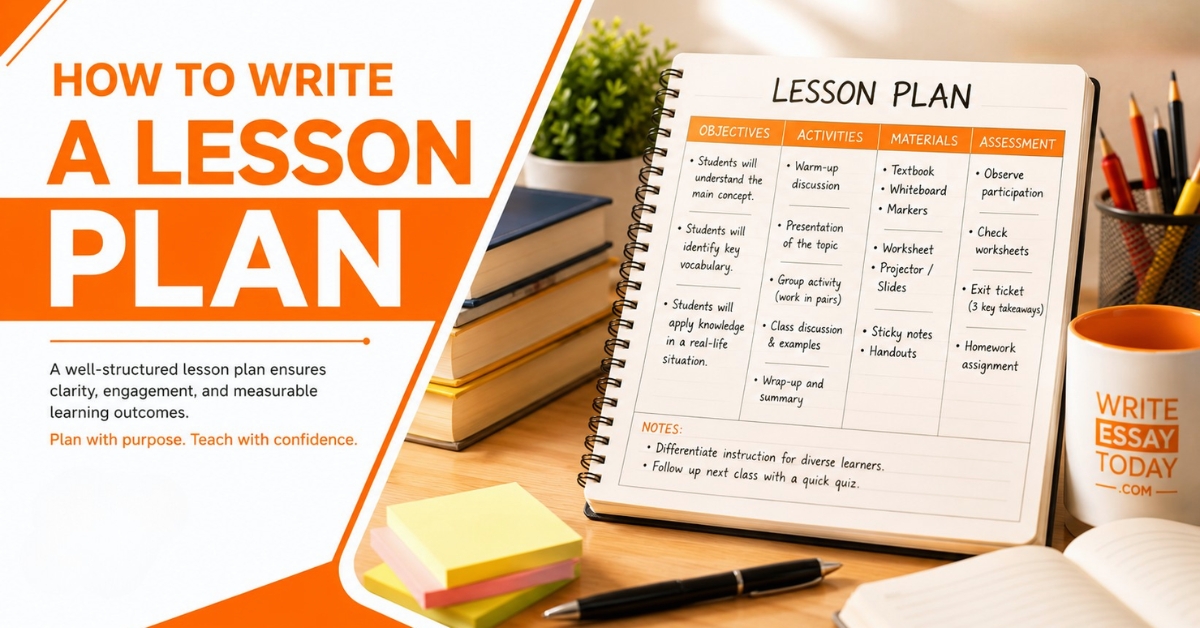
What a Lesson Plan Is and Why It Matters
A lesson plan is a teacher's roadmap for a single lesson. It states the goal, lists the activities in order, notes the materials needed, and explains how learning will be measured. Clarity matters more than length: some plans fit on one page, while others run longer for a complex topic. A good plan keeps the class focused on one goal, prepares you for problems before they arise, and leaves a record you can reuse and improve. It helps students too, since a lesson that moves in a logical order and connects every activity to the goal is easier to follow and to remember. The level of detail can scale to your experience, but the thinking behind the plan, not the paperwork, is what makes a lesson succeed.
The Core Components of a Lesson Plan
Most lesson plans share the same core parts, whatever the subject or grade level. Once you know them, you can build a plan for any topic.
- Learning objective. One clear statement of what students will be able to do by the end of the lesson.
- Materials. Everything you and the students need, from handouts and slides to lab equipment or art supplies.
- Prior knowledge. The skills or concepts students should already have, and a quick way to check for them.
- Activities. The sequence of teaching and practice that moves students toward the objective.
- Assessment. The method you use to confirm that students met the objective.
- Timing. An estimate of how long each part will take, so the lesson fits the class period.
- Differentiation. Adjustments for students who need more support or more challenges.
Not every lesson plan needs each section in extensive detail, but every essential component should be included. Without clear learning objectives, the lesson lacks direction. Without assessment, there's no reliable way to know whether students achieved the intended learning outcomes.
Seven Steps to Build an Effective Lesson Plan
Following these seven practical steps will help you create lessons that are organized, engaging, and focused on meaningful learning outcomes.
Step One: Write a Clear Learning Objective
The objective is the foundation of the plan, so write it first. It states what students will be able to do by the end of the lesson, not what you will cover. "Students will be able to identify the three branches of government" is an objective. "Teach the branches of government" is a task, not a goal. Strong objectives are specific and measurable. A useful method is the ABCD approach:
- Audience: Who will learn? (The students)
- Behavior: What will they do?
- Condition: Under what circumstances?
- Degree: How well should they perform?
For example: "Given a short passage, students will identify the main idea with 80 percent accuracy." Each part removes a little vagueness. Choose action verbs that you can observe and measure, such as:
- Identify
- Explain
- Calculate
- Compare
- Construct
Avoid vague verbs such as understand or know, since they are difficult to measure. Bloom's Taxonomy provides a helpful progression of action verbs, from basic recall to analysis and creation, allowing you to match the objective to the level of thinking you want students to achieve.
Step Two: Check What Students Already Know
A lesson lands better when it starts from what students already know. Before planning activities, identify the prior knowledge students need. For example:
- A geometry lesson on an area assumes students can multiply.
- A persuasive writing lesson assumes students can write a basic paragraph.
Plan a quick way to check this at the start of class. Simple strategies include:
- A warm-up question
- A thumbs-up or thumbs-down poll
- A one-minute recall activity
- A short pre-assessment
If a gap appears, a brief review costs far less time than allowing the lesson to collapse because students lack the necessary foundation. This step also helps you pitch the lesson at the right level. Teaching content that is too difficult can discourage students, while teaching material that is too easy can reduce engagement.
Step Three: Plan the Lesson Structure
With the learning objective and starting point established, plan the sequence of activities that will help students achieve the objective. A reliable structure is the Gradual Release Model, often summarized as "I do, We do, You do."
- Open with a hook. Begin with something that captures attention and connects to the goal: a question, a short story, an image, or a surprising fact. A strong opening gives students a reason to care before the content begins.
- Present the new material. Introduce the concept or skill directly. Explain, demonstrate, and model your thinking out loud so students see how it works. Keep this part focused and clear, since it carries the core of the lesson.
- Practice together. Work through examples as a class or in small groups, with you guiding and correcting. This is where misunderstandings surface while there is still time to fix them.
- Practice independently. Let students apply the skill on their own. This shows whether the learning has taken hold and reveals who needs more support.
- Close the lesson. End by tying the activities back to the objective. A short summary, a reflection question, or a quick exit task helps students consolidate what they learned.
Not every lesson follows this exact order. A discussion-based or inquiry lesson may use a different shape, such as the 5E model of Engage, Explore, Explain, Elaborate, and Evaluate. The principle stays the same: move from support toward independence in a logical sequence.
Step Four: Choose Materials and Resources
List every material the lesson requires, including the small items that are easy to overlook. Examples include:
- Handouts
- Presentation slides
- Textbooks
- Digital tools
- Lab equipment
- Whiteboard markers
- Classroom props
Preparing materials in advance prevents unnecessary interruptions during the lesson. Match each resource to a specific activity instead of including materials simply because they are available. A single well-chosen worksheet or video often supports learning better than multiple resources competing for students' attention. If you're using technology, always prepare a backup plan in case:
- The internet connection fails
- A device stops working
- Software becomes unavailable
A successful lesson should never depend entirely on technology.
Step Five: Build In Assessment and Checks for Understanding Assessment tells you whether students met the objective, and it comes in two types:
- Formative assessment happens during the lesson and guides your teaching in the moment, such as questions, quick polls, or watching group work.
- Summative assessment happens at the end and measures the result, such as a quiz, a short essay, or a project.
Plan checks for understanding at several points, not only at the close. A few simple techniques work well:
- A targeted question after the new material, then again after guided practice, to see whether to move on or to reteach.
- An exit ticket at the end of class.
- A one-sentence summary of the lesson.
- Having students explain a step to a partner.
Tie the assessment directly to the objective. If the objective asks students to compare two ideas, the assessment should ask them to compare, not merely to recall facts. When the objective and the assessment match, you get a clear answer about whether the lesson worked.
Step Six: Plan for Different Learners
A single class holds a range of abilities, so plan how to reach students at different levels. Differentiation does not mean writing separate lessons. It means building flexible options into the same plan:
- Support students who struggle with scaffolds such as sentence starters, worked examples, or a simplified text.
- Stretch advanced students with extension tasks, harder questions, or a leadership role in group work.
- Offer more than one path to the content, for example pairing a written explanation with a diagram or a short demonstration.
Even a few small adjustments make a difference. Noting them in the plan means you are ready to respond in the moment rather than improvising when one student finishes early and another falls behind.
Step Seven: Set Realistic Timing
Assign a time estimate to each part of the lesson, then check that the total fits the class period. A few habits keep the timing realistic:
- Lean toward fewer activities done well rather than many done in a rush, since new teachers often plan too much for the time available.
- Leave a margin for the unexpected, such as a discussion that runs long or a question that needs a fuller answer.
- Mark one activity as optional, so you can cut it if time runs short without losing the core of the lesson.
Timing is an estimate, not a script, but a rough plan keeps the lesson moving and helps you reach the closing rather than stopping halfway.
A Complete Lesson Plan Template
The template below arranges every part in a logical order. Replace each bracket with your own details and adjust the sections to fit your subject.
Complete Lesson Planning Framework
Lesson title: [topic]
Grade or level: [ ]
Subject: [ ]
Duration: [e.g., 50 minutes]
[By the end of the lesson, students will be able to ...]
[list everything you and the students will need]
[what students should already know, plus a quick check]
- 1 Hook (__ min): [ ]
- 2 New Material / I Do (__ min): [ ]
- 3 Guided Practice / We Do (__ min): [ ]
- 4 Independent Practice / You Do (__ min): [ ]
- 5 Closing (__ min): [ ]
[how you will check the objective was met]
[support for students who struggle, extension for those ready for more]
[ ]
Confirm timing, materials, objective, assessment, and student support before teaching.
Quick tip: Save a blank copy of your lesson plan template for future use. Starting with a proven structure saves time, keeps your planning consistent, and helps ensure you don't overlook essential elements such as learning objectives, prior knowledge checks, or assessment.
A Sample Lesson Plan
The example below applies the template to a real lesson. It shows how each part connects, from the objective through to the assessment.
Writing a Clear Thesis Statement
50-Minute LessonBy the end of the lesson, students will be able to write a one-sentence thesis statement that makes a clear, arguable claim in response to a short prompt.
Projector, sample-paragraph handout, sticky notes.
Students can identify the topic of a paragraph. Quick check: show one paragraph and ask the class to name its topic.
- 5m Hook Display two sentences, one vague and one a clear claim. Ask which one tells the reader what to expect, and why.
- 12m New Material Define a thesis statement and model turning a topic into a claim, thinking aloud as you write.
- 13m Guided Practice As a class, rewrite three weak thesis statements into strong ones on the board.
- 15m Independent Practice Students write a thesis for a given prompt on a sticky note.
- 5m Closing A few students share; the class gives a thumbs-up if the thesis makes a claim rather than stating a topic.
Collect the sticky notes and check each thesis for a clear, arguable claim.
Provide sentence frames for students who need support; ask advanced students to add a supporting reason to their claim.
Students revise their thesis and bring it to the next class.
For a deeper lesson on this exact skill, our guide on how to write a thesis statement can serve as a student handout or an extension resource. For students who need more support turning a claim into a finished piece, a professional essay writer online can produce a model essay for the class to study.
Common Lesson Plan Mistakes to Avoid
Most weak plans fail on the same few points. Check for these before you teach.
- Setting a vague objective that cannot be measured, so you cannot tell whether the lesson worked.
- Planning too many activities for the time available, which forces a rushed ending.
- Listing content to cover instead of what students will actually do and learn.
- Saving all checks for understanding until the very end, when it is too late to adjust.
- Forgetting a backup for technology or for timing that runs over.
- Writing the plan for yourself alone, with notes so brief that a substitute could not follow them.
Answers to Common Questions
How Long a Lesson Plan Should Be
A plan should be as long as it needs to be clear, and no longer. A single page is common for a standard lesson. What matters is that anyone reading it, including a substitute teacher, could deliver the lesson from the page alone.
The Difference Between Aims and Objectives
An aim is the broad purpose of a unit or a course, while an objective is the specific, measurable result of a single lesson. Objectives sit underneath aims and break a large goal into steps that can be taught and checked one lesson at a time.
Whether to Plan Every Minute
There is no need to script the lesson second by second. Assign rough time blocks to each part instead. A plan should guide the lesson while leaving room to respond to the class, slow down for a good question, or move on when students are ready.
How to Reuse a Lesson Plan
Keep the plan after teaching it and add brief notes on what worked and what to change. Over several rounds, those notes turn a single plan into a reliable, improved resource that saves preparation time and teaches better each year.
Achieve More with Reliable Academic Writing Support With Write Essay Today
Writing a lesson plan requires thoughtful preparation, clear objectives, and an understanding of student needs. While it may seem detailed at first, the process becomes easier with practice. Write Essay Today offers expert academic writing services designed to support your workload. Get high quality, well researched content on time, stay ahead of deadlines, and focus your energy where it matters most, teaching effectively and making a real impact in the classroom. Order your document